
Page 12 - Unanet AE: Administering the System
P. 12
4. Select Lookup in the Default Approver field. The Employee Lookup window
opens.
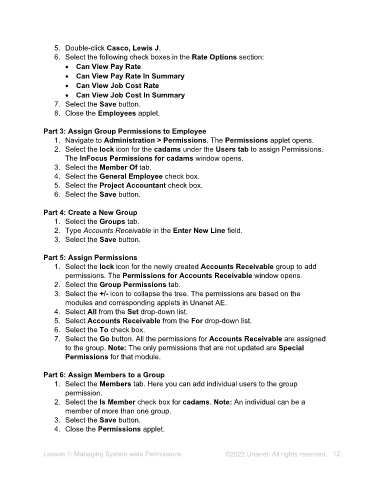
5. Double-click Casco, Lewis J.
6. Select the following check boxes in the Rate Options section:
• Can View Pay Rate
• Can View Pay Rate In Summary
• Can View Job Cost Rate
• Can View Job Cost In Summary
7. Select the Save button.
Part 3: Update Start Date
1. Select the Pay History tab.
2. Type 1/1/<Previous year> in the Start Date field for the first line.
3. Select the Save button.
4. Close the Employees applet.
Part 4: Assign Group Permissions to Employee
1. Navigate to Administration > Permissions. The Permissions applet opens.
2. Select the lock icon for the cadams under the Users tab to assign Permissions.
The InFocus Permissions for cadams window opens.
3. Select the Member Of tab.
4. Select the General Employee check box.
5. Select the Project Accountant check box.
6. Select the Save button.
Part 5: Create a New Group
1. Select the Groups tab.
2. Type Accounts Receivable in the Enter New Line field.
3. Select the Save button.
Part 6: Assign Permissions
1. Select the lock icon for the newly created Accounts Receivable group to add
permissions. The Permissions for Accounts Receivable window opens.
2. Select the Group Permissions tab.
3. Select the +/- icon to collapse the tree. The permissions are based on the
modules and corresponding applets in Unanet AE.
4. Select All from the Set drop-down list.
5. Select Accounts Receivable from the For drop-down list.
6. Select the To check box.
7. Select the Go button. All the permissions for Accounts Receivable are assigned
to the group. Note: The only permissions that are not updated are Special
Permissions for that module.
Lesson 1: Managing System-wide Permissions ©2025 Unanet. All rights reserved. 12